Camera movements are one of the most difficult techniques in video shooting. But don’t give up already – learn the basics here and together, we will master the different camera movements to create your most sophisticated movie yet.

1. Basic movements: pan shots, tilt, pedestaling
If you move your camera lens from left to right or reverse, this is a so-called pan shot. It is an easy way to follow to a moving subject, for example in a chase. You can also use “panning” to provide an overview of a scenery or to show the distance between two objects. Slow pans provide a calm and tense atmosphere while fast pans jump into a new setting.
While “panning” describes the horizontal movement of the lens, a tilt moves along the vertical axis without changing the camera’s height.
This allows an unmoved object to be displayed in its full size, from bottom to top.
Pedestaling however works with the help of a tripod: The camera itself is lifted along the vertical axis without changing the angle. The cameraman can pedestal up to look directly in the eyes of Godzilla or pedestal down to watch a flower blowing in the wind at its low level.
Hot wheels and spectacular heights
Next, we increase the mobility with a so-called dolly. It puts the camera on wheels or rails, so that the cameraman can follow an object smoothly and without walking movements. The dolly makes it easy to drive behind or next to a running person. It is also possible to zoom in and out on any action. However, the effect is much more drastic than using the optical zoom. In some movies you find the dolly in combination with a zoom to underline a feeling of shock and surprise. Moving the camera around an object will provide the most impressive results.
It is possible to substitute the dolly with a wheelchair, a cart or a skateboard – however, take extra care of your camera.
And now to something completely different – if you want the viewer to see things from a different angle, use a crane or a drone! Beginning and end of your movie are perfect opportunities where the viewer needs to have some context. Crane journeys are preferably used in street scenes that lead the viewer into or out of the scene. With a drone you can use varying angles.
2. Special movements: Feel the freedom!
If you need to react quickly, a handheld camera is the best way to shoot. No additional equipment such as tripods block you when changing direction or angle of the camera. It is often used for shooting scenes with a lot of movement or to give the viewer the impression of watching a documentary. In horror movies it is an effective way to create a feeling of anxiety.
You can stabilize large cameras on your shoulders. For the use of smaller cameras, try to follow some rules: stabilize your arm by putting the elbow on your hip – and avoid zooming as it gets heavily unsteady.
The elbow-hip-support reaches its limits when using professional film cameras.
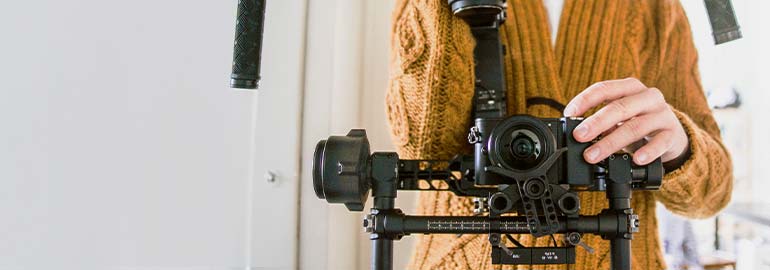
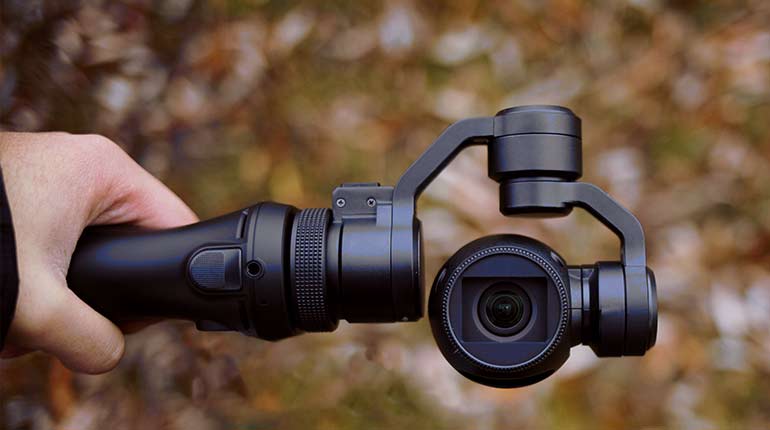
A floating cam combines the advantages of the flexible handheld camera and the smooth camera movement of the dollies. Therefore, the camera is attached to a gimbal that automatically irons out most undeliberate movements. Please have a look at our gimbal vs. steadycam guide for more information.
3. Lense movements: Does it count?
Filmmakers argue about categorizing the zoom. Does it belong in the camera movement category or not? The zoom is used to bring distant motifs closer to the viewer – or to show the motifs in the context of their environment.
However, the zoom is easy to use, but a lazy solution. Use it wisely and never without a tripod or floating cam, otherwise your movie may look like a live documentary about earthquakes. (Which is not a good thing.)
The Rack-Focus is a change of focus within the same shot. Change the focus from object number one to the focus of object number two. The first object becomes fuzzy and object number two appears clear. For this setting to work, the distance between camera and object one as well as between object one and object two must be the same. Rack-Focus is a useful tool to show the reaction of faces during intimate communication.
Move it, but wisely
Movements will make your movie look more professional. However, the opposite can be true as well: Don’t overuse the methods above or you may overstrain your viewers. Take your time, reflect and exercise to become familiar with camera movements without overloading the movie. What is the message and how can I underline it? Are there signature movements I want to establish across my films? These are the questions you should ask yourself.
Oh, and don’t forget: Have fun!
