Your masterpiece has a clear storyline, but do there seem to be bumps in your sequences? Could be the editing. There are a number of ground rules to respect in order not to confuse your audience. Learn everything about “continuity editing” that you need to know.
Alfred Hitchcock wanted to do it, so he made it possible. His 1948 film, “Rope”, he used no obvious cuts. He cleverly hid the 10 cuts in the film and used tricks during shooting to overcome the challenge of changing the film material every ten minutes. In doing so, the movie, experimental even by today’s standards, became extremely dense.
Clearly, this is not how the majority of films are made today. We are all used to and trained by Hollywood films. And they follow a strict set of rules called “continuity editing”. The goal of this technique is to create a momentum within the film that makes the viewer focus on the story and nothing else. A normal viewer wouldn’t even notice the cuts and how they influence his or her perception. If it is done well, we don’t need to spend any effort on interpreting what is happening on-screen – it becomes obvious.

How to: Continuity editing
The rules of continuity editing are easy, but please be aware that they require some extra planning and work during shooting. Here are the ten most important guidelines:
- Always start scenes with an establishing shot, showing the surrounding scenery and the context. This helps makes the viewer comfortable with the setting.
- Apply smooth, step-wise transitions between field sizes (zoom levels), especially when focusing on your main objects. In doing so, the viewer is able to get to know your focus. The dialog is a key aspect in continuity editing. First rule: Use shots and reverse shots. This means: Always show the actors alternately – go back and forth between them. This is how the viewers would naturally follow the conversation.
- Respect the imaginary line that runs between actors and other points of interest! Don’t cross that line with your camera from one cut to the next, or your viewer will get lost because what was first on the right would suddenly be on the left. This is called the 180° rule. Your film should always reproduce the feeling of being part of the conversation for the spectator, and he or she wouldn’t normally cross these lines during a conversation either.
- Make use of ellipses! You don’t need to show everything. Many actions are implicit, obvious or redundant. Leave them out. this is how most films are able to pack a whole bunch of parallel stories into their 90+ minute runtime.
- This is an obvious one that many hobby filmmakers don’t get right: diegetic sound. It means that sounds are natural to the scene, and are heard simultaneously by actors and viewers. More importantly, don’t show your actors with a delayed reaction to noise. In normal life, they react instantly.
- Matching on action – movements are cut in a way that they continue in the next shot from another perspective. Seems obvious. After all, e all want to see the given action finished.
- You may never have thought about this one before: the eyeline match. First, you show your protagonist, looking somewhere outside the frame. Then you show what the protagonist sees. Pretty logical, huh?
- Two interwoven storylines should be cut alternately: a shot of storyline A is followed by a shot of storyline B is followed by a shot of storyline A … this is called cross-cutting. Oh, and try to make them rhythmic: five seconds of A are followed by five seconds of B.
- Speaking of which: Tempo is part of your storytelling. Longer shots are for calmer, more epic moments, while a build-up to climaxes is normally shot in sequences with many shorter shots.
Follow these rules and you might become the next Alfred Hitchcock. Yes, he was also bound to some of these guidelines: Later in his career, he even established some of them.
Tip: Improve the momentum within the film – creative cuts & transitions
Take a look at the most effective video editing techniques, new options for software editing and when and how to use them. Master these creative cuts & transitions, learn when & how to use them and make your videos more exciting with a style of your own.
Thanks! Every tip helps.
Very informative! Thanks!
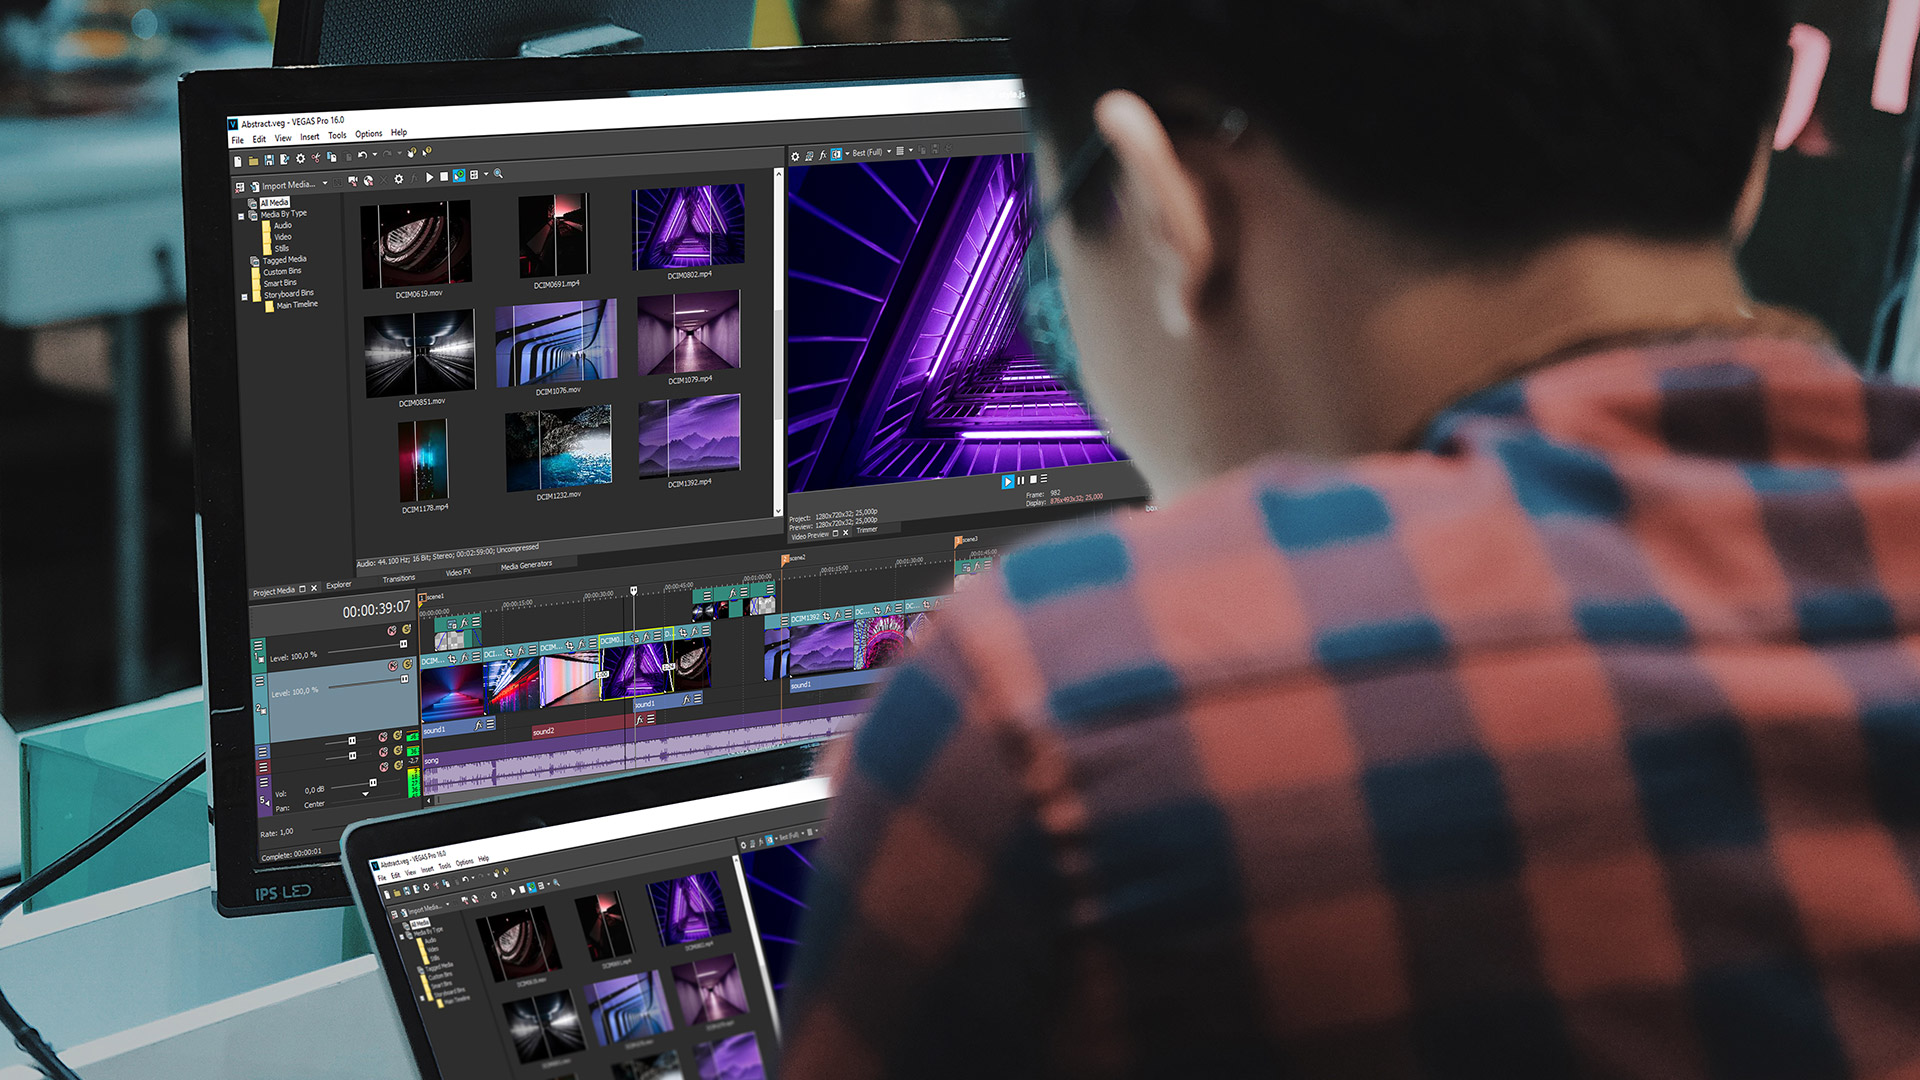
HANK YOU eSSENTIALY I MAKE VIDEOS FROM MY CONCERTS ONLY ONE OR TWO CAMERAS WITHOUT PERSON TO SURWAV IT (ON TRIPIED WITHOUT CONTROL)) AND I MAKS ALL EDITING IN MY COMPUTER WITH VEGAS PRO 16
THANK YOU FOR YOURS ADVISES yOU MAY FIND MI IN FACEBOOK OR yOUTUBE eDWARD
thank you
I think the best overall advice is to edit the story the way you would tell it to a friend. I see so many clichés in movies now. The guy or girl gets out of the car and we see their feet before we see them. The car keys going into the ignition. The actor looking at his reflection in the bathroom mirror. None of these things are things you would show when telling a story. So just show us scenes that we need to see and move the story forward, the way you would tell the story to a friend. We don’t need to see the person’s feet unless that’s somehow relevant to the story. We don’t need to see the car keys going in the ignition. Most people know people have feet and most people know the key has to go into the ignition to start. The scenes should be like bricks in a wall. All need to be there. All are serving a purpose. Just my two cents.
Yes the advice on film editing you gave is very good!
In my shots I prefer transition of the desolve type between shots – or clips.
This smooths the audio recording between the shots – as with just one camera, the audio recording stops – with he end the shot! ,(with no transitions you are aware of the cut in the sound!!)